How to use SDK with Visual Studio 2017
This tutorial will create a project with Visual Studio 2017 to start using SDK.
You could find the project demo in
<sdk>/samples/simple_demo/project_vs2017directory.
Preparation
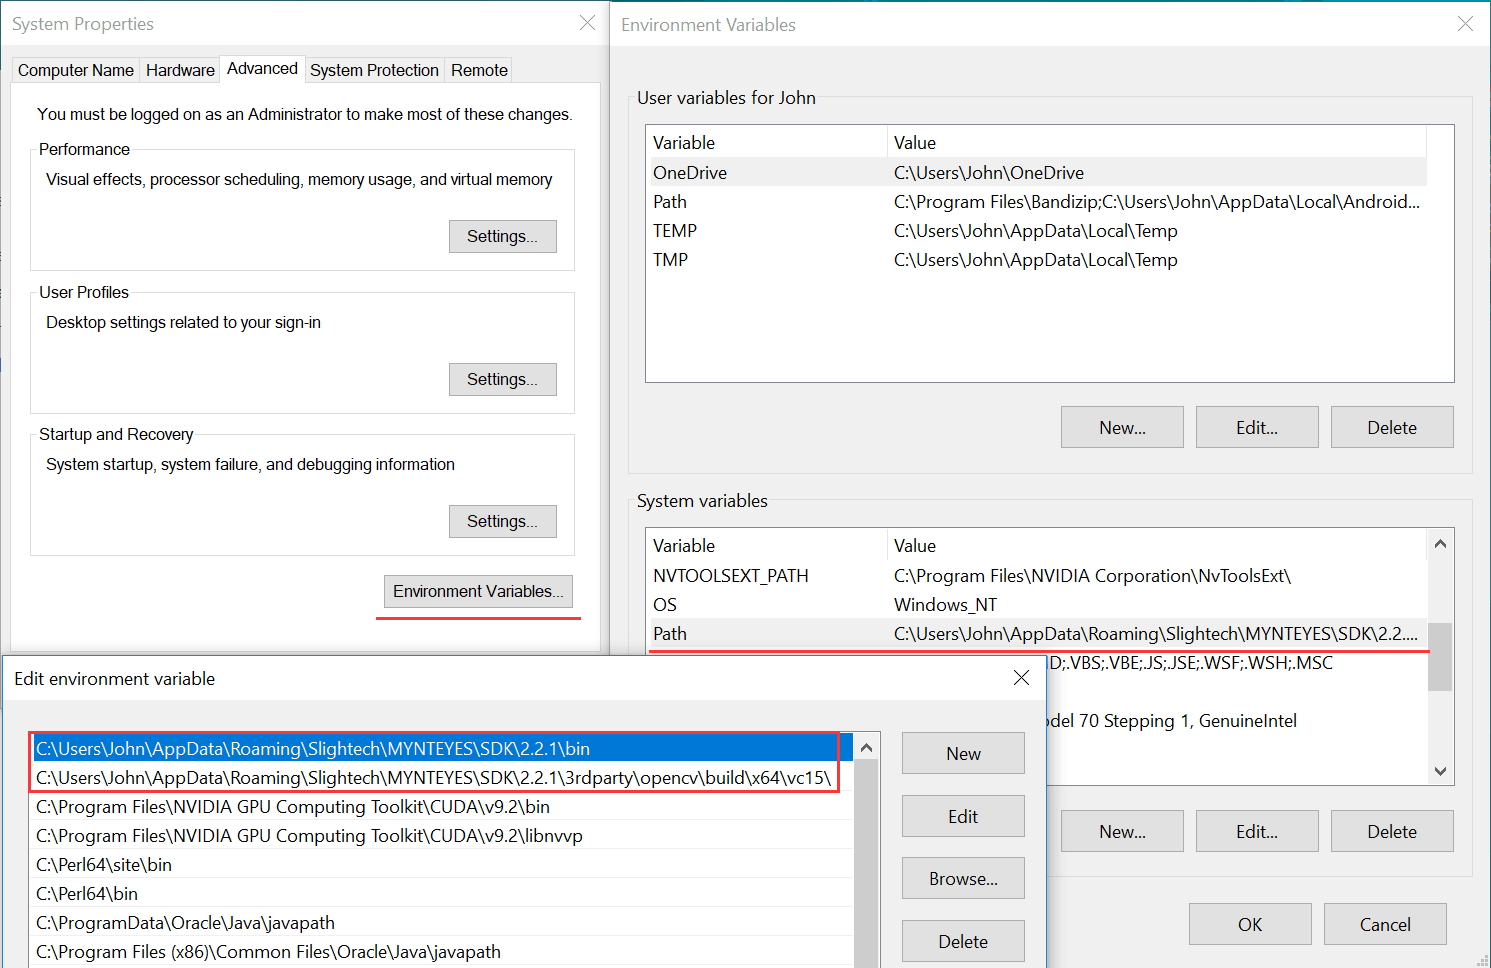
Windows: install the win pack of SDK
Create Project
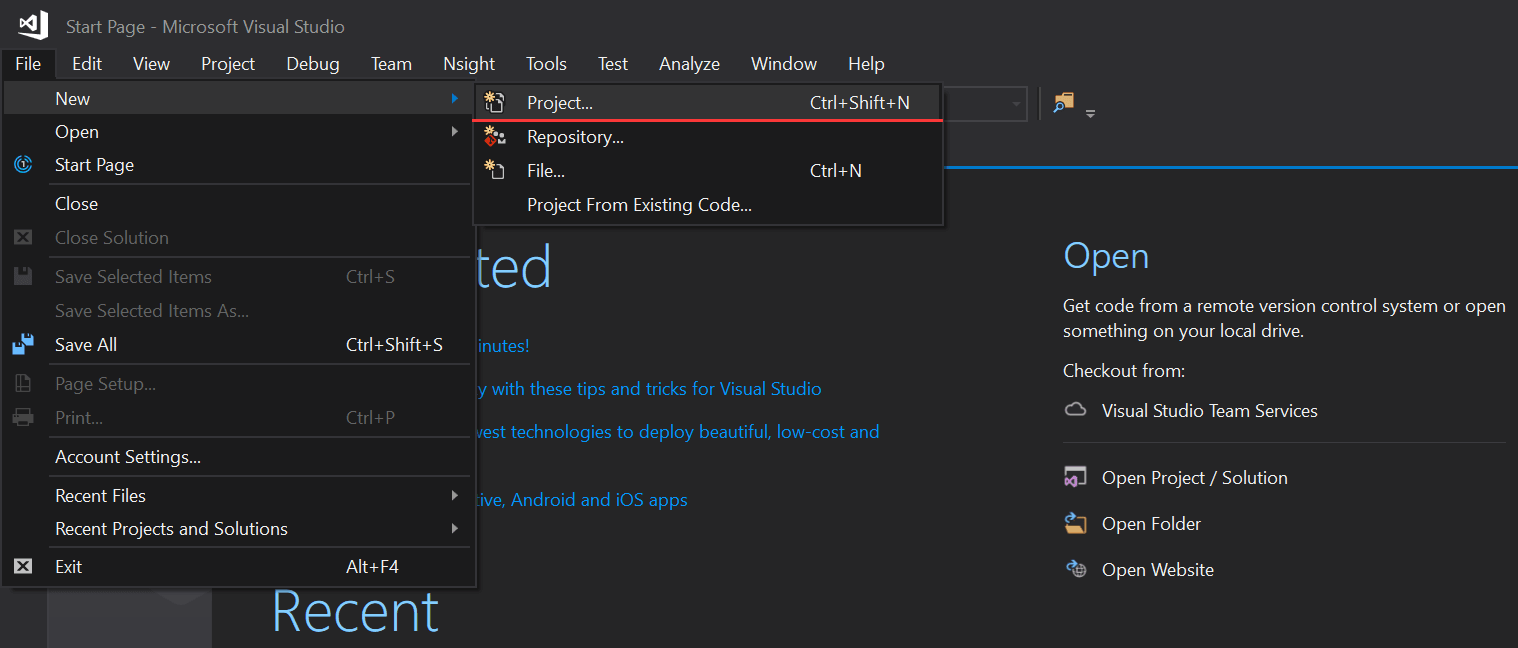
Open Visual Studio 2017, then File > New > Project ,
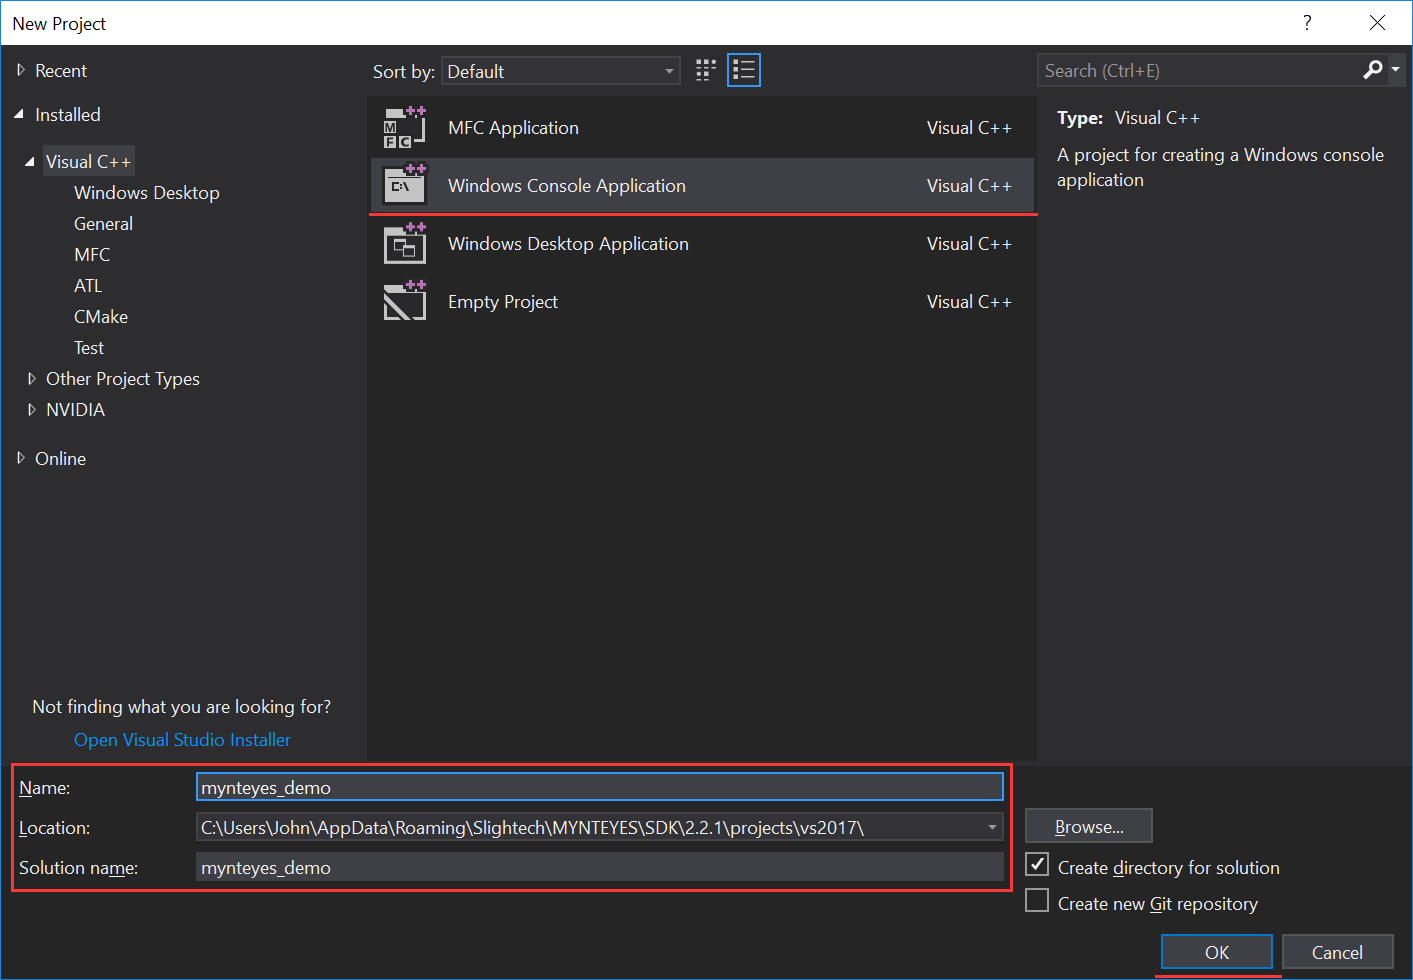
Select “Windows Console Application”, set the project’s name and location, click “OK”,
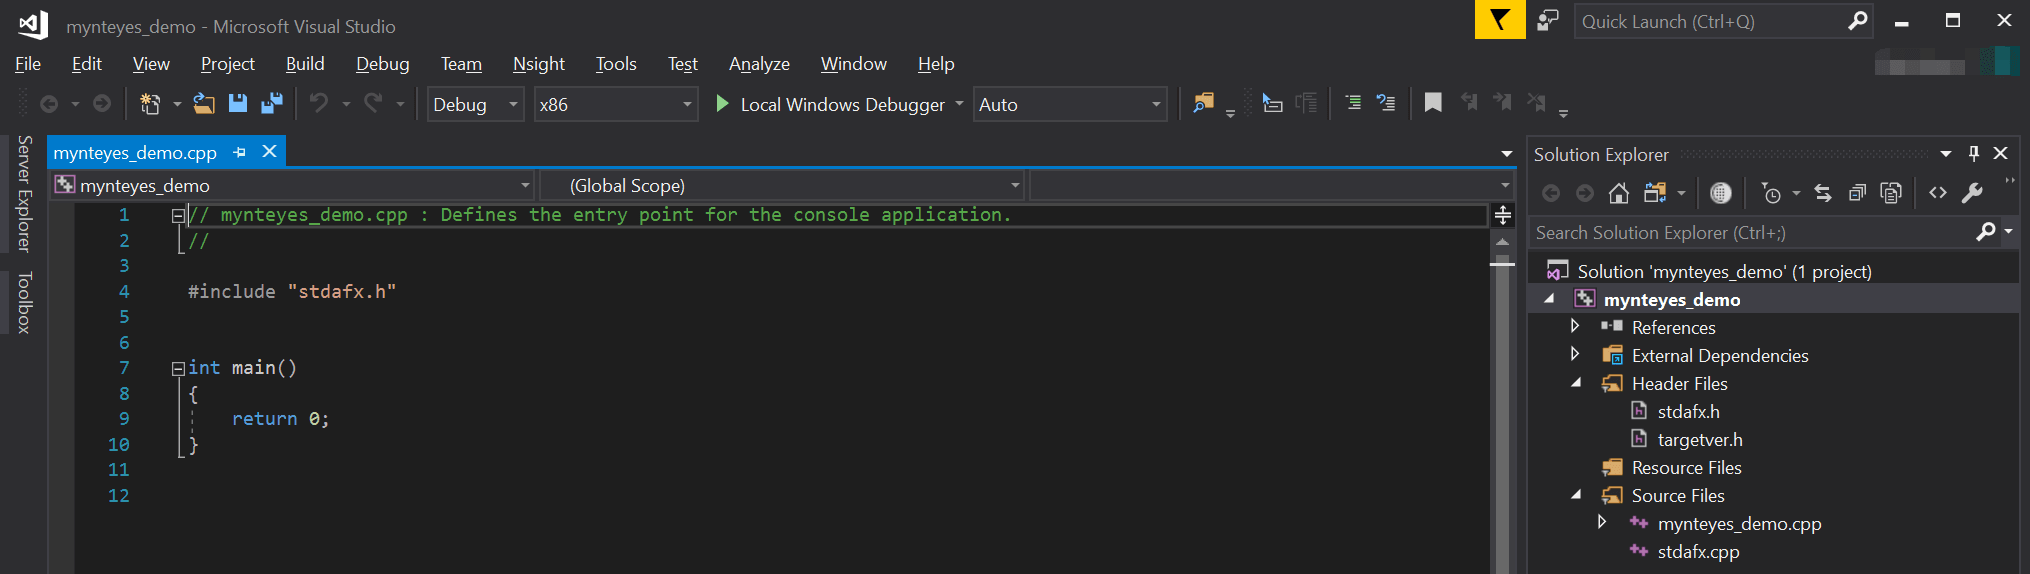
Finally, you will see the new project like this,
Config Properties
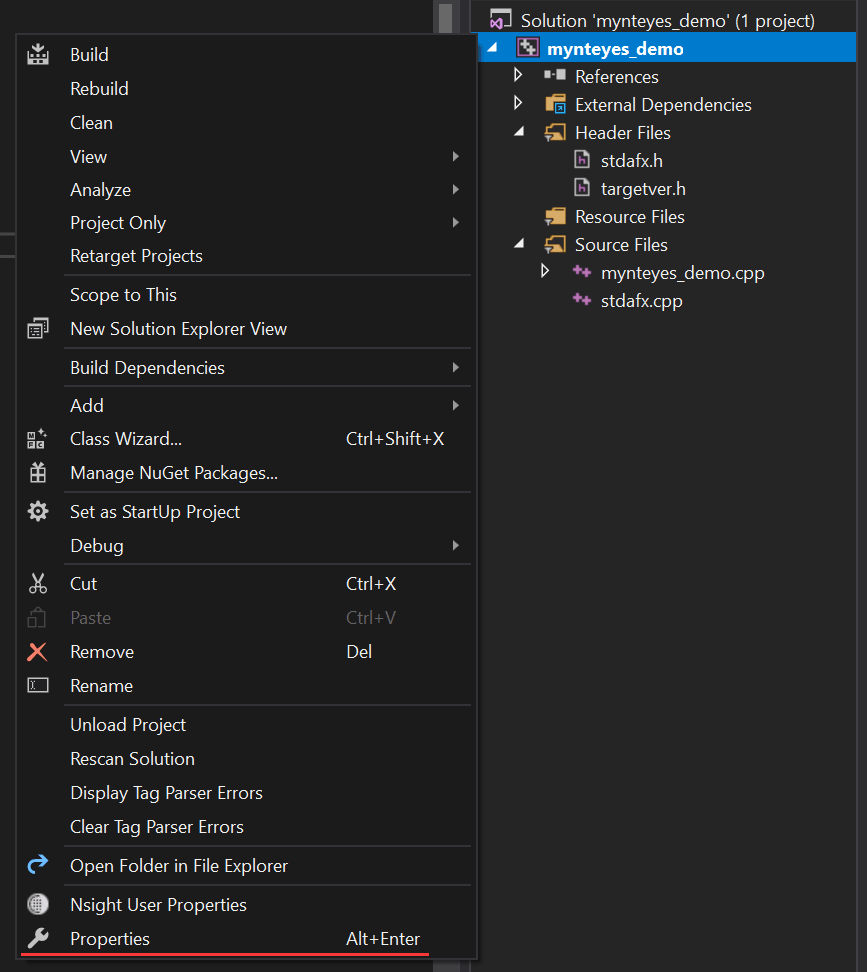
Right click the project, and open its Properties window,
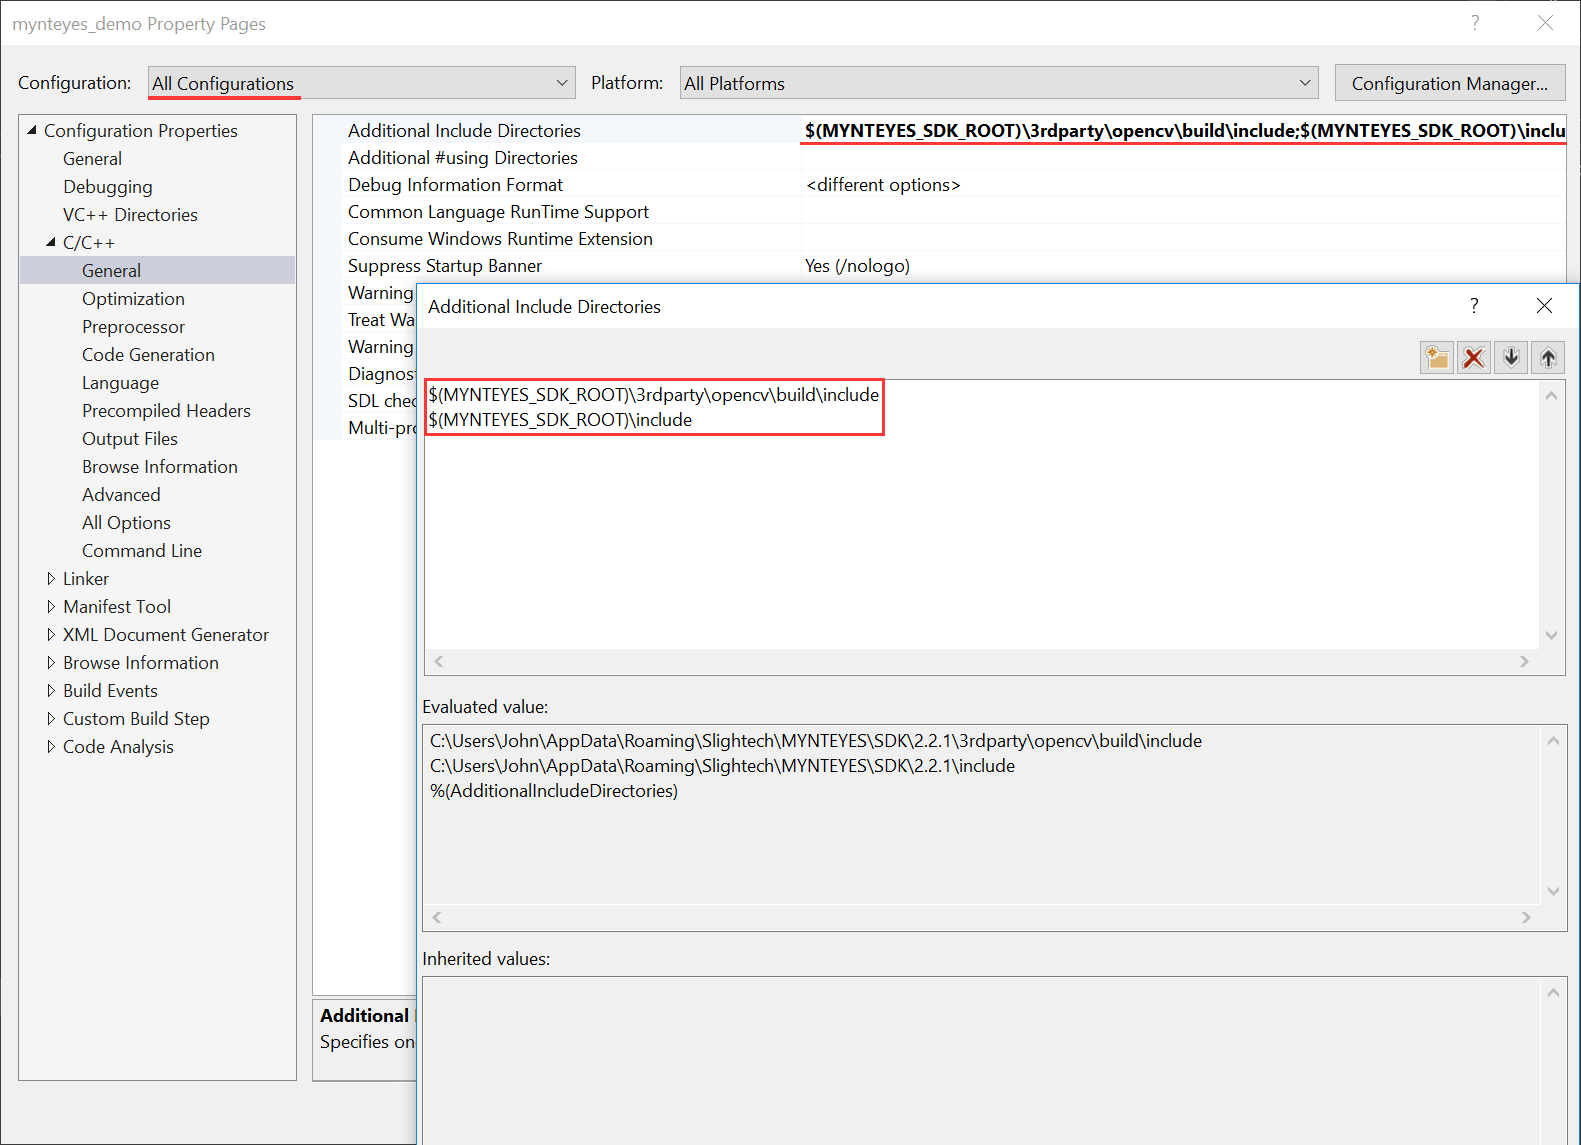
Change Configuration to All Configurations , then add the following paths to Additional Include Directories ,
$(MYNTEYES_SDK_ROOT)\include
$(MYNTEYES_SDK_ROOT)\3rdparty\opencv\build\include
Add the following definitions to Preprocessor Definitions ,
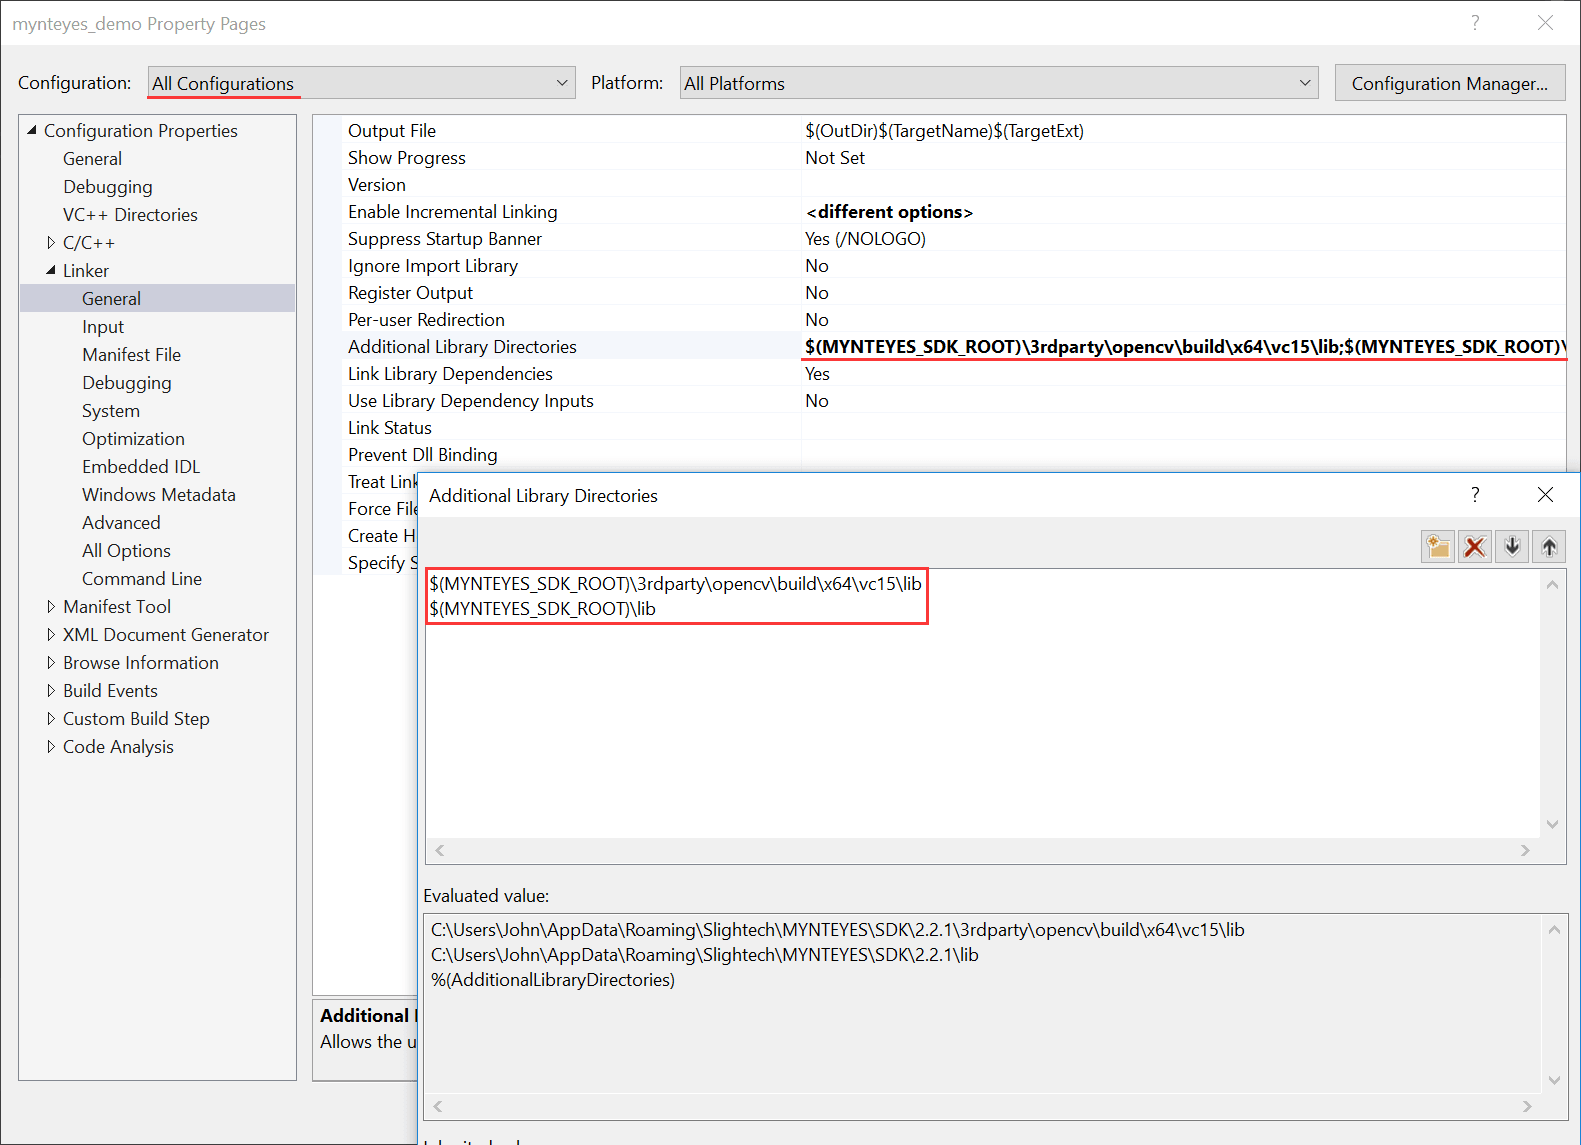
$(MYNTEYES_SDK_ROOT)\lib
$(MYNTEYES_SDK_ROOT)\3rdparty\opencv\build\x64\vc15\lib
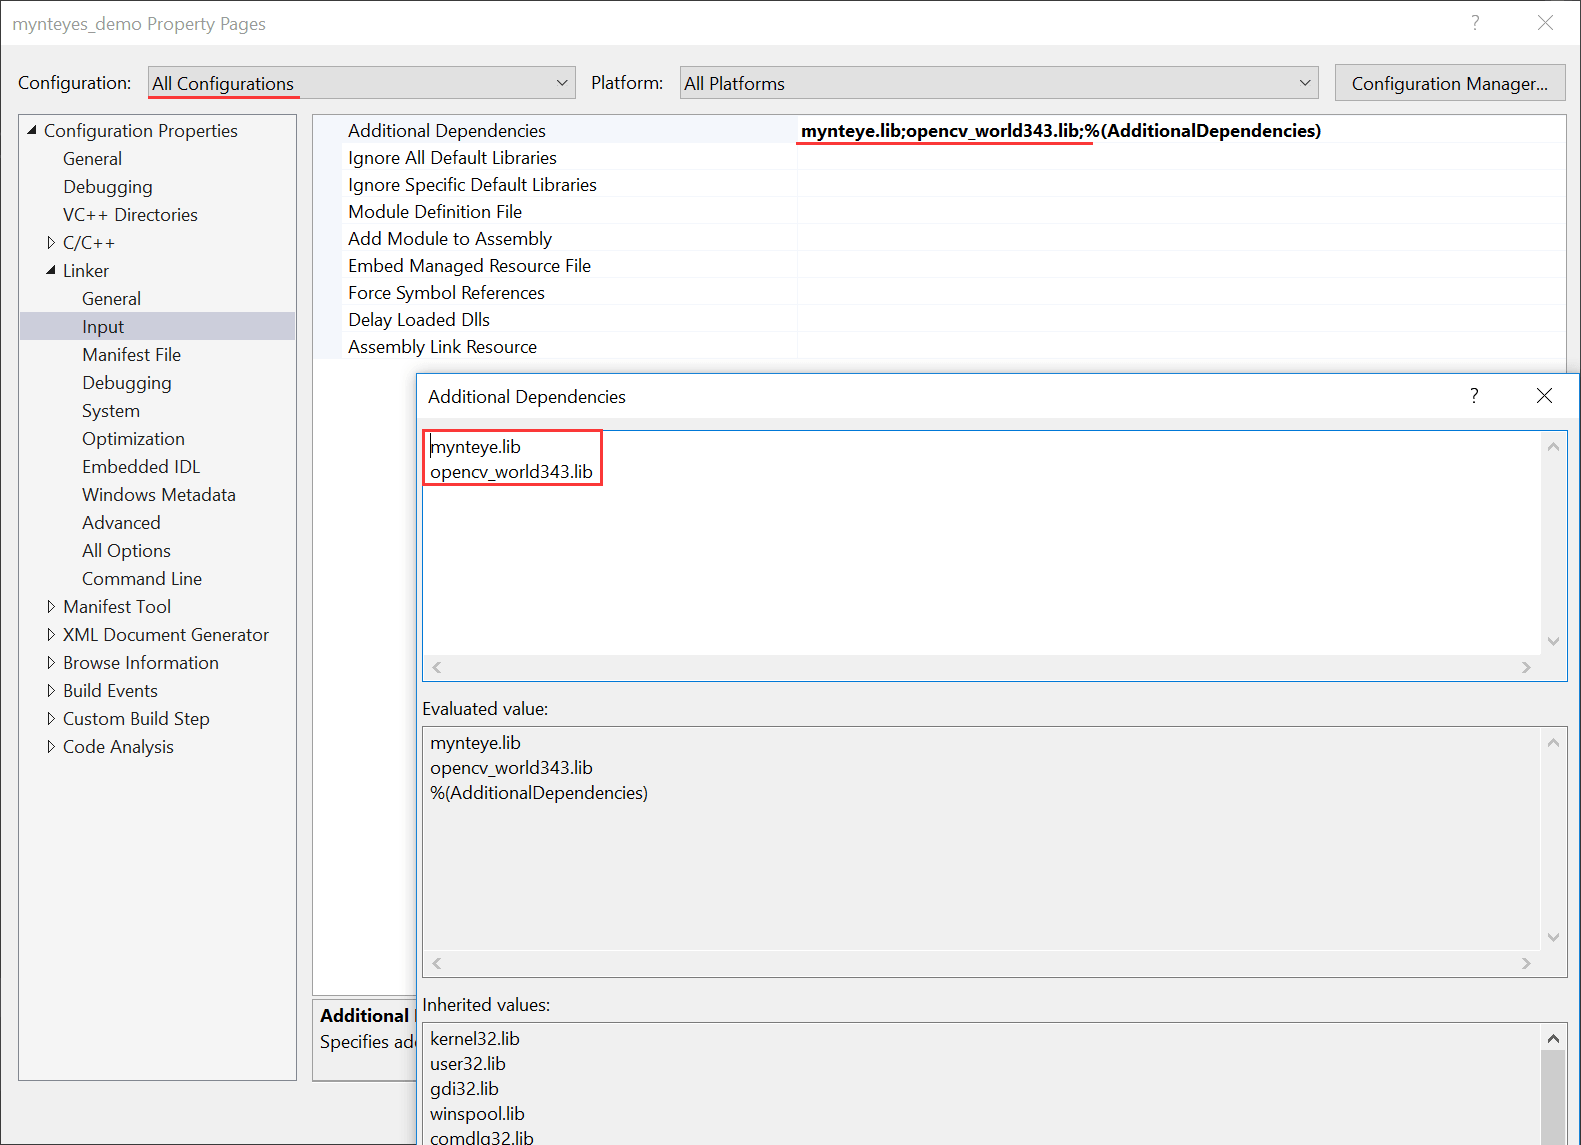
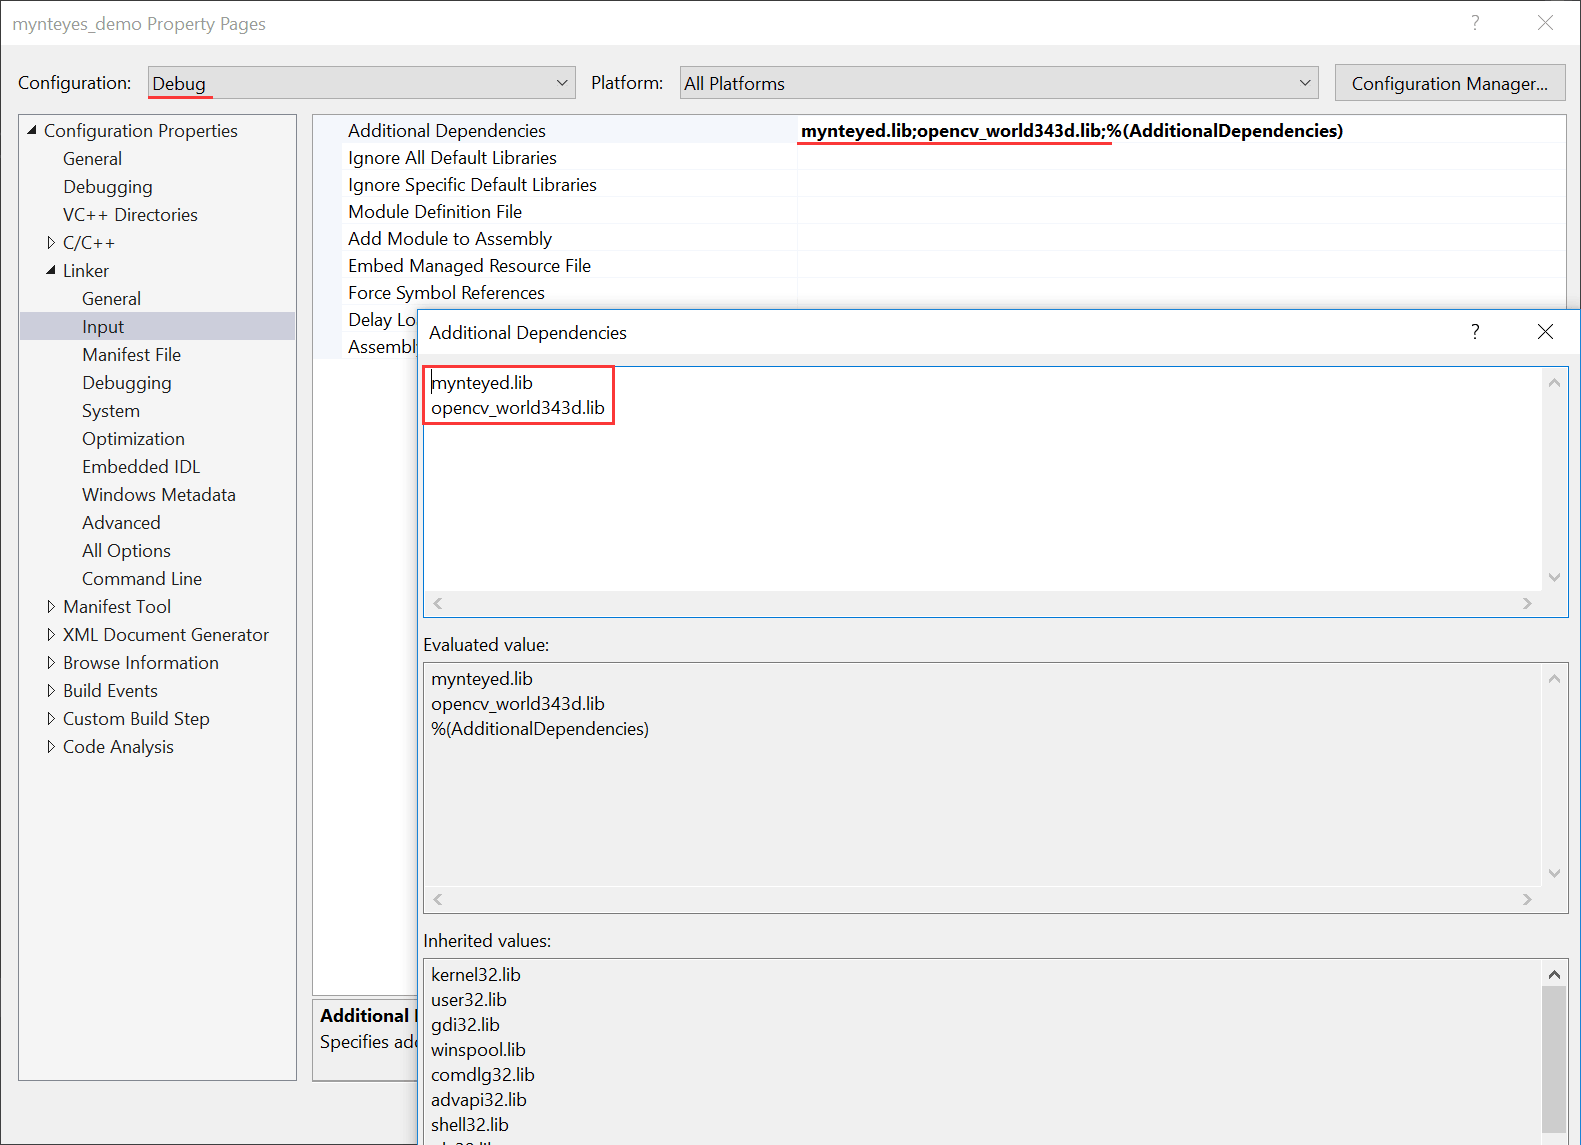
Add the following paths to Additional Dependencies ,
mynteye.lib
opencv_world343.lib
If want to use debug mode, could change Configuration to Debug and add following debug libs:
mynteyed.lib
opencv_world343d.lib
Start using SDK
Include the headers of SDK and start using its APIs,
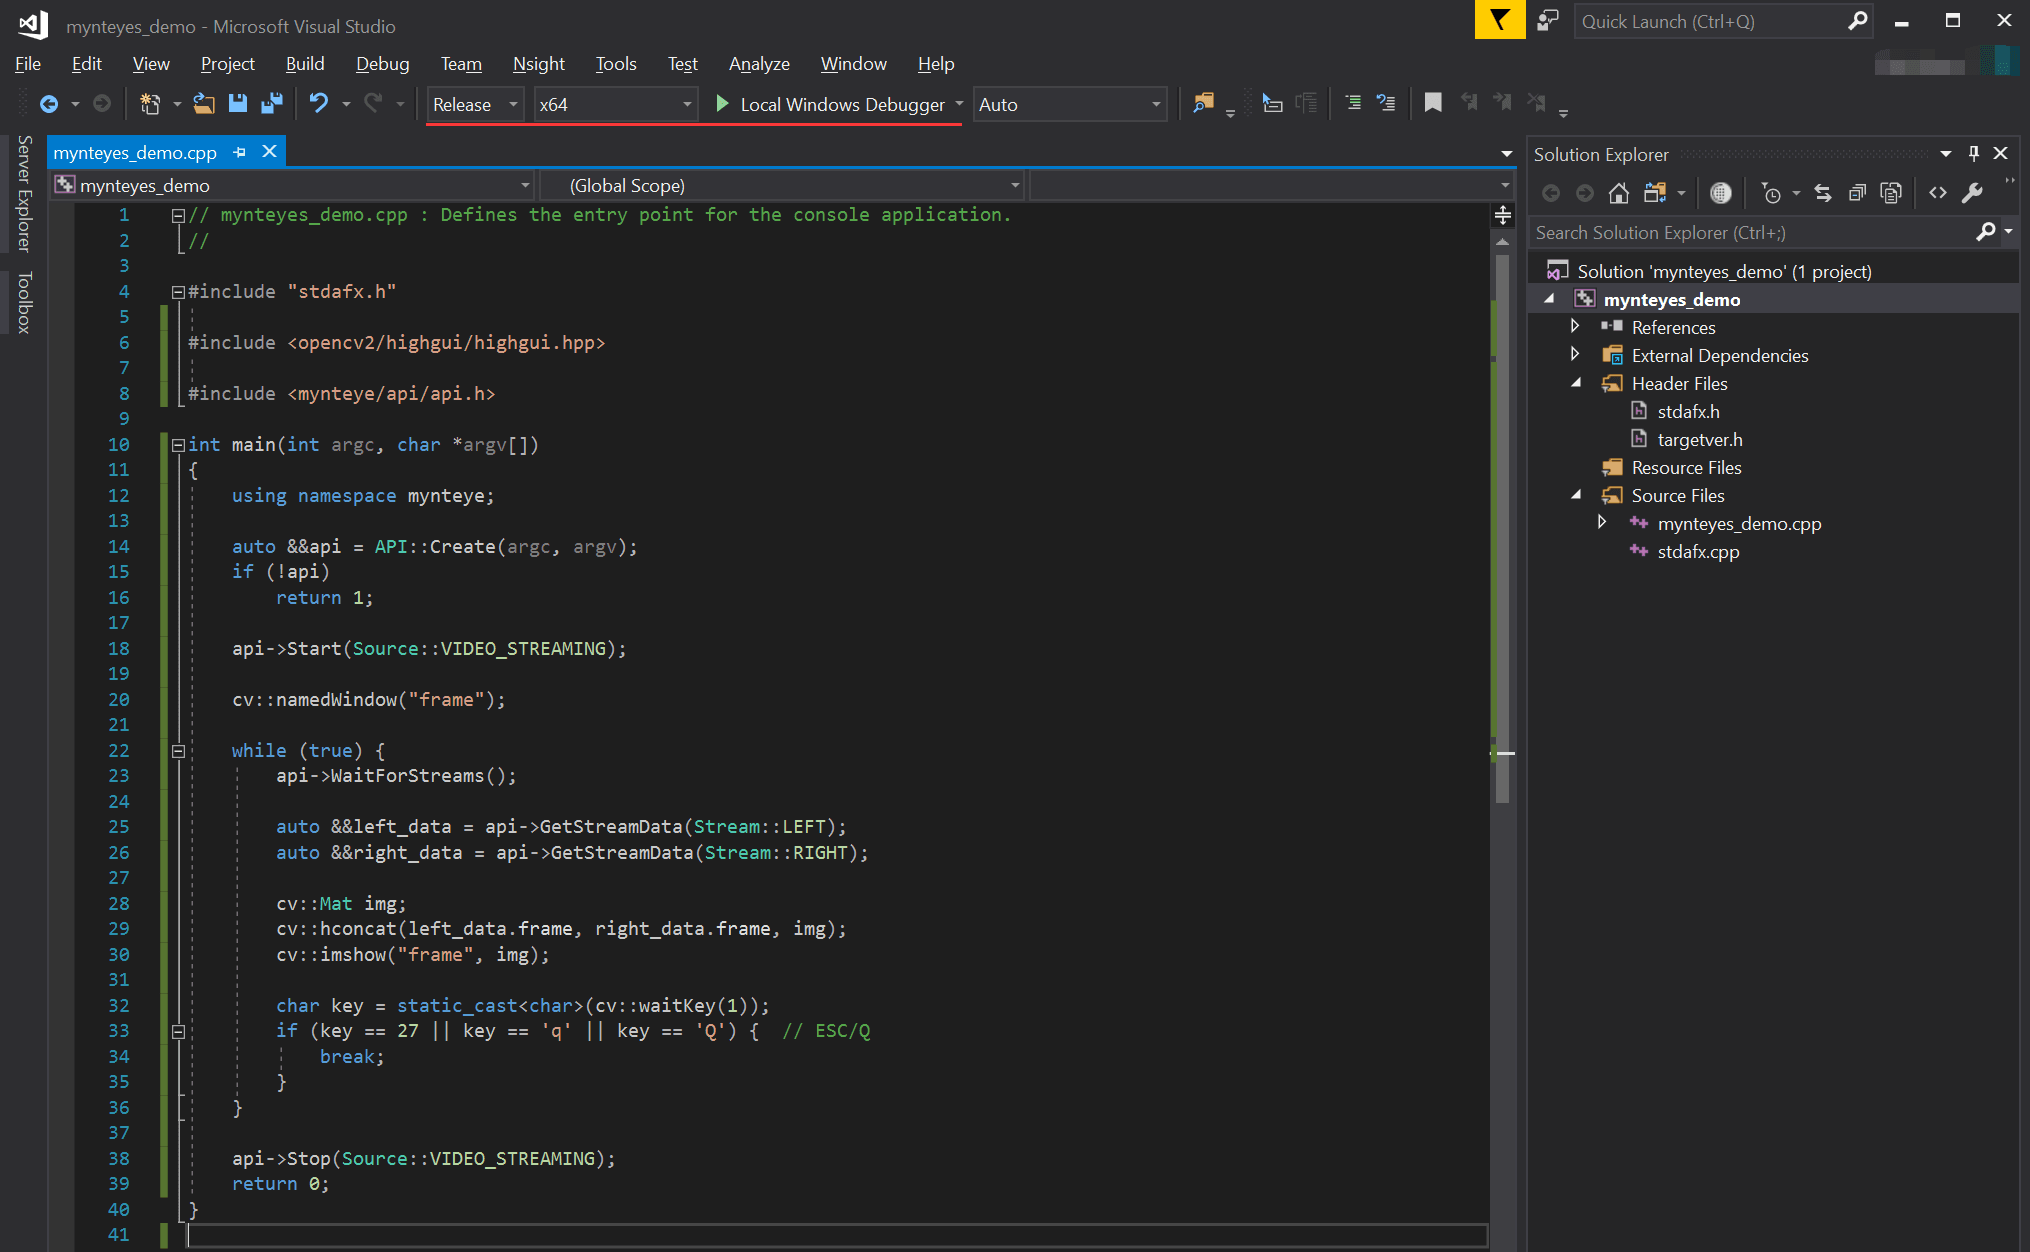
Select Release x64 or Debug x64 to run the project.